
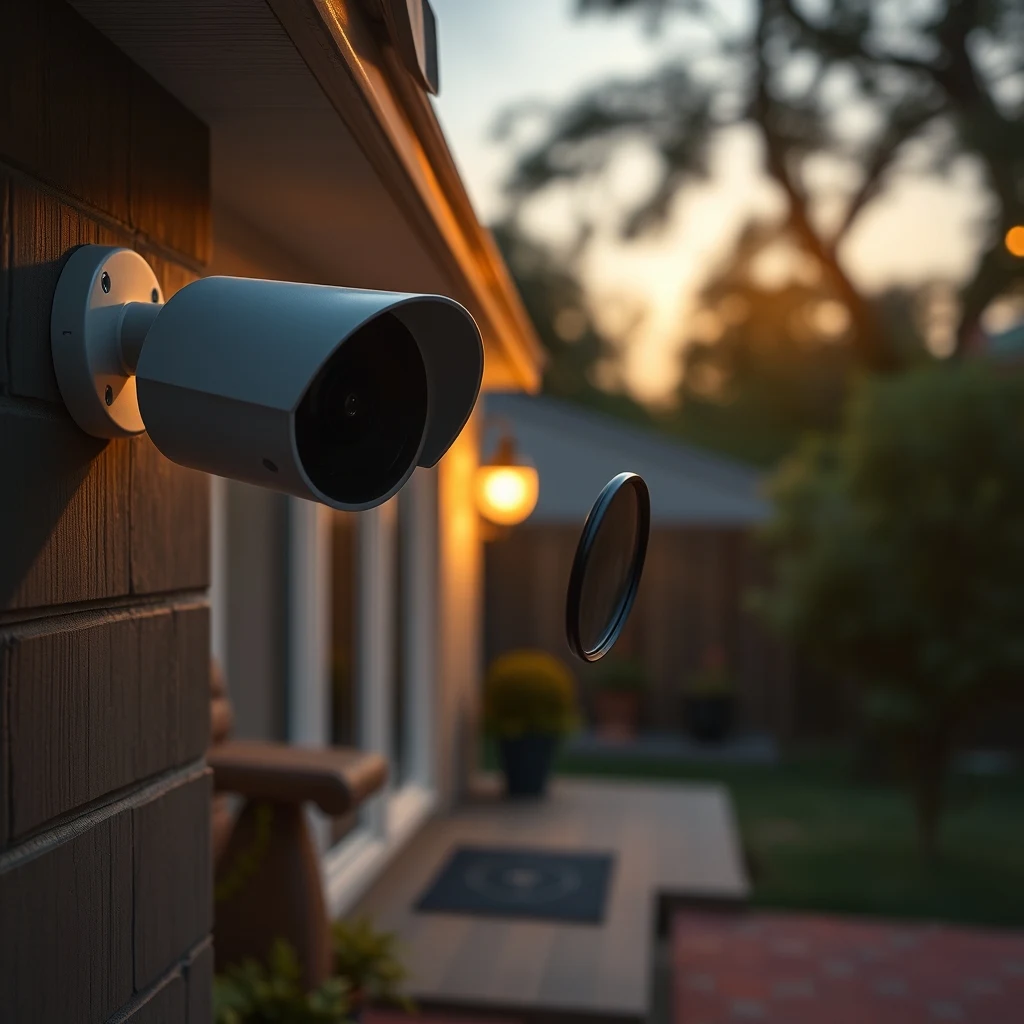
The bags are packed, the flight is confirmed, and you can already taste the cold drink waiting for you at the resort pool. Summer vacations are meant to offer a complete break from daily stress. Yet, for millions of homeowners, a quiet lingering worry stays in the back of their mind: Is my house safe while I am away?
There is a common belief that home break-ins peak during the dark, gloomy winter months. While long winter nights certainly offer cover for opportunistic thieves, police statistics reveal that summer remains a prime season for residential burglaries. The reason is simple: homes sit empty for days or weeks at a time while families travel. Overgrown lawns, stacked mail, and unlit hallways send a clear signal to intruders that nobody is home.
To combat this, many people assume they need to spend thousands of dollars on a professionally installed, monitored security setup complete with long-term contracts. Security tech expert Chris Price insists that this expensive approach is no longer necessary. With modern smart home hardware, you can transform a single inexpensive security camera into an integrated, multi-layered home defence setup without blowing your summer budget.
In this guide, we will walk you through Chris Price's exact step-by-step process for scaling up your home defence, maximizing your existing hardware, and ensuring complete peace of mind while you enjoy your summer getaway.
Phase 1: Maximize Your Anchor Camera
Most home security journeys start with a single, standalone smart camera bought on sale. Whether you own a Ring, Wyze, Blink, Eufy, or Arlo device, that single camera serves as your anchor point. However, Chris Price points out that over 70 percent of homeowners drop their initial camera on a shelf near the router and call it a day. To build a robust security system, you must first extract every bit of value from this primary device.
Strategic Placement Strategy
Positioning is everything. If your camera is facing a bare interior wall or pointing out a window where glass reflection blinds its infrared night vision, it is effectively useless. According to law enforcement data, nearly 34 percent of burglars enter through the front door, while 23 percent use a first-floor rear window or back entrance.
If you only have one camera, place it at your primary vulnerability point:
- The Front Porch or Hallway: If you choose an indoor camera, place it inside near the front entryway, elevated between 6 and 8 feet, angled slightly downwards. This height prevents an intruder from quickly tampering with it while ensuring you capture clear facial features.
- The Rear Entrance: If your single camera is an outdoor-rated unit, mount it near the back entrance or garden area. Hidden rear doors are the preferred target for focused break-ins because criminals have cover from street traffic.
Fine-Tuning Detection and Sensitivity
Nothing ruins a vacation faster than your phone buzzing every two minutes with false alerts caused by passing cars, stray cats, or wind-blown tree branches. False alarm fatigue causes people to mute their notification settings, defeating the purpose of having a camera.
Open your camera app and configure these crucial settings before leaving:
- Set Up Motion Detection Zones: Draw strict boundaries around doors, walkways, and private property. Exclude public sidewalks and busy roads from the active zone.
- Adjust Sensitivity Thresholds: Lower the sensitivity slightly to avoid triggers from shadows or small insects flying past the lens.
- Enable AI Person Detection: Most modern budget platforms support onboard or cloud-based AI filtering that distinguishes human shapes from pets or falling leaves. Turn this feature on, even if it requires a low-cost trial.
- Optimize Two-Way Audio: Test your speaker and microphone. Being able to speak clearly through the camera allows you to intimidate an intruder or give instructions to a delivery person.
Phase 2: Build the Layered Security Perimeter on a Budget
Once your anchor camera is optimized, it is time to expand. Chris Price emphasizes the concept of "Layered Security." Rather than buying four more expensive cameras, you build complementary layers that detect, deter, and delay unwanted visitors before they ever reach your living room.
1. Contact Sensors: Your First Line of Defense
Contact sensors are small, two-piece magnetic devices placed on doorframes and window sashes. When the frame opens, the magnetic seal breaks, triggering an instant notification. These sensors are inexpensive, often costing between $10 and $15 each.
Prioritize sensor placement based on accessible access points:
- Ground-floor side or rear doors
- Basement access windows
- Sliding glass patio doors
- Attached garage entry doors
Because contact sensors do not process heavy video feeds, their batteries often last up to two years. More importantly, they provide immediate perimeter breach alerts, whereas camera motion detection can sometimes experience a multi-second delay.
2. Standalone Motion Sensors for Blind Spots
Security cameras have a limited field of view, usually between 110 and 140 degrees. To cover wide open spaces like living rooms, hallways, or open-plan kitchens, place standalone PIR (Passive Infrared) motion sensors in high-traffic choke points.
PIR sensors detect heat signatures moving across room zones rather than monitoring light pixel changes. This makes them immune to outdoor headlights flashing through curtains. They are small, inexpensive, and easy to stick onto walls using non-damaging adhesive tape.
3. Motion-Activated Outdoor Lighting
Darkness is a burglar's best friend. Adding light to a dark walkway or rear deck disrupts an intruder's plans immediately. You do not need expensive wired floodlight fixtures. Battery-powered or solar-powered outdoor LED motion lights can be mounted using simple screws or outdoor adhesive strips.
Place motion-activated lights above your side gate, back door, and garage driveway. When an unexpected visitor approaches, a sudden bright light startles them and alerts neighbors, while dramatically improving your outdoor camera's night vision clarity.
Phase 3: Mastering Presence Simulation
The most effective way to protect your home during summer vacation is to convince the outside world that you never left. Leaving your house completely dark for a week is a dead giveaway, but leaving every light on 24/7 is equally suspicious.
Chris Price advises moving away from simple mechanical timer plugs that turn lamps on at the exact same minute every evening. Savvy observers spot rigid, static schedules quickly. Smart presence simulation is dynamic and believable.
Smart Plugs and Variable Schedules
Smart plugs cost under $10 each and connect directly to your home Wi-Fi network. By plugging floor lamps, table lights, or radios into smart plugs, you can build realistic lighting patterns controlled remotely from your smartphone.
Implement these schedules while away:
- Living Room Lighting: Program lamps to turn on at dusk and remain lit until your typical bedtime (e.g., 10:30 PM).
- Bedroom Lighting: Schedule bedroom lights to turn on 15 minutes before the living room lights go dark, simulating someone moving upstairs to get ready for sleep.
- Randomization Mode: Platforms like Alexa, Google Home, and Smart Life feature a "Vacation Mode" or "Away Mode." This setting automatically varies your lighting schedules by 15 to 30 minutes each night, making the activity appear human and organic.
Simulating Household Activity
Lighting is only half the battle. Sound and visual motion inside the house provide another strong layer of deterrence.
Consider these budget tricks:
- TV Simulators: A TV light simulator costs under $20 and uses flickering, multi-colored LEDs to copy the light output of an active television screen. Pointing one toward a closed curtain gives the realistic impression that someone is watching movie night in the living room.
- Audio Automation: If you own a smart speaker (like an Amazon Echo or Google Nest Mini), schedule it to play background radio, podcasts, or ambient household sound routines during daytime hours.
Phase 4: Ecosystem Integration and Automation
The real power of modern smart security comes when your standalone devices talk to each other. When a contact sensor on your back door triggers an action, it should not operate in isolation—it should activate your entire smart network.
Chris Price outlines how to cross-connect budget equipment using free smart home routines in platforms like Amazon Alexa, Google Assistant, or Apple HomeKit.
Creating Automated Defense Routines
You can create simple conditionally-triggered automations without buying extra hardware:
Routine Example 1: The Perimeter Breach Flash
Trigger: Rear outdoor motion sensor or camera detects movement after 11:00 PM.
Action: Smart hub turns on living room and hallway smart bulbs to 100% brightness instantly, making it look like an occupant was awakened and flipped on the lights to investigate.
Routine Example 2: Deterrent Sound Burst
Trigger: Entry sensor on the side gate opens while the system is set to "Away."
Action: Smart speaker indoors plays an automated audio file of a barking dog or a loud chime chime to warn off the intruder.
Choosing the Right Network Architecture
When expanding your security gear, pay attention to wireless protocols. While Wi-Fi devices are simple to set up, having 20 cheap Wi-Fi cameras and sensors connected simultaneously can overload standard ISP-provided routers.
Consider these hardware tips for smooth network performance:
- Wi-Fi Bandwidth: Ensure high-bandwidth devices (like video cameras) use stable 2.4GHz connections with strong signal coverage. If your budget permits, add an inexpensive Wi-Fi range extender to reach distant yard corners.
- Zigbee / Z-Wave / Thread: For sensors and smart plugs, consider devices using Zigbee, Z-Wave, or Thread protocols connected to a small hub. These devices use very little power, respond instantly, and do not crowd your main Wi-Fi network.
System Cost & Scalability Matrix
To help you plan your summer security upgrade, Chris Price broke down three simple implementation tiers. You can start small today and expand over time as your budget allows.
| Protection Tier | Included Hardware | Estimated Total Cost | Security Level Offered |
|---|---|---|---|
| Tier 1: Starter Setup |
1 Indoor/Outdoor Smart Camera 1 Smart Plug (for lamp automation) |
$40 - $60 | Basic Entry Coverage: Monitors one main door, offers remote video viewing, and basic lighting schedules. |
| Tier 2: Expanded Defence |
1 Main Outdoor/Indoor Camera 2 Door/Window Contact Sensors 2 Smart Plugs 1 Motion Sensor Light |
$100 - $140 | Comprehensive Coverage: Protects vulnerable entrances, automates interior lighting, and secures back entry points. |
| Tier 3: Multi-Layered Protection |
2 HD Smart Cameras 4 Contact Sensors 1 PIR Interior Motion Sensor 3 Smart Plugs / Smart Bulbs 1 TV Light Simulator |
$200 - $260 | Full Home Defence: Complete perimeter monitoring, dynamic presence simulation, multi-room automated routines, and visual deterrence. |
Phase 5: Local Storage vs. Cloud Subscriptions
A hidden cost in modern smart security systems is the monthly cloud subscription fee. Companies often charge between $3 and $12 per month per camera to store recorded video footage. When managing a tight budget, these recurring costs add up quickly.
The MicroSD Card Advantage
Many reliable budget camera brands (such as Wyze, Eufy, Tapo, and Reolink) include onboard microSD card slots. Inserting a high-end $10 to $15 microSD card (32GB to 128GB capacity) gives you continuous local video storage without monthly subscription charges.
When selecting a microSD card for a security camera, follow these recommendations:
- Choose cards explicitly labeled "High Endurance" or "Max Endurance." Continuous video writing degrades standard memory cards quickly. High-endurance cards are designed for non-stop video recording under high temperatures.
- Configure your camera app to record continuous footage or event-driven video clips to the local storage card.
When Cloud Storage Makes Sense
While local storage saves money, Chris Price notes one crucial limitation: if a thief steals or destroys the physical camera, your microSD card disappears along with the recorded footage. For your main anchor camera monitoring the most vulnerable entrance, spending a few dollars for a single month of cloud backup while you are on vacation can be a smart, low-cost safety net.
Phase 6: Non-Tech Security Hacks to Complement Your Setup
Technology is a powerful tool, but it works best alongside practical physical security habits. Chris Price shares his essential low-tech checklist to complete before heading out the door.
1. Manage Deliveries and Mail
A pile of packages sitting on a porch is an open invitation for opportunistic thieves. Pause your mail deliveries through your local postal service website, or ask a trusted neighbor to collect packages, newspapers, and flyers daily.
2. Lock Up Valuables and Manual Access Points
Do not leave high-value items, laptops, or car keys visible through ground-floor windows. Lock all secondary interior doors, such as the door connecting your attached garage to your kitchen. Place physical security bars or cut wooden dowels into the tracks of sliding patio glass doors to physically block them from being forced open.
3. Mind Your Garden and Yard Tools
Overgrown lawns and unkept gardens scream that a home is unoccupied. Mow your lawn right before leaving for extended trips. Secure away tools, ladders, or heavy lawn ornaments. A ladder left unsecured in a backyard can easily be used to reach an unlocked second-story window.
4. Practice Social Media Discipline
It is tempting to post airport updates, hotel pool photos, and vacation stories in real time. However, public social media posts inform everyone—including strangers—that your house is empty. Save your vacation photo shares until you return home safely.
Step-by-Step Pre-Vacation Security Checklist
Print or save this simple checklist to review during the 24 hours leading up to your trip:
- Test Camera Batteries & Connections: Recharge battery-powered cameras to 100% and test the live video feed quality over your mobile data connection.
- Clean Camera Lenses: Wipe down outdoor camera lenses using a microfiber cloth to remove dust, cobwebs, and fingerprint smudges that cause blurry night vision footage.
- Verify Smart Schedules: Check that your smart plug presence routines, randomized lighting sequences, and automated notifications are active.
- Secure Secondary Access Points: Double-check manual deadbolts, window latches, gate latches, and sliding door security bars.
- Adjust HVAC Settings: Lower heating or raise air conditioning thresholds to save energy while keeping ambient temperatures moderate enough to prevent electronics from overheating.
- Set Up Emergency Contacts: Give a spare key and your trip emergency contact details to a trusted neighbor, relative, or friend living nearby. Add them as a shared user on your camera app if supported.
Final Thoughts: Peace of Mind Doesn't Have to Cost a Fortune
Securing your home for summer vacation is not about dropping thousands of dollars on complex equipment or locking yourself into long-term monthly contracts. By taking a thoughtful, phased approach, you can turn a single $30 security camera into an intelligent, connected home defence setup.
By optimizing your camera's placement, adding cheap contact sensors to vulnerable entry points, setting up realistic presence lighting schedules, and keeping up with low-tech physical habits, you create a powerful deterrent that keeps intruders away. Lay the groundwork today, complete your setup checklist, and step onto that plane knowing your home is safe, secure, and fully protected.



0 Comments